
Logging in to the remote host
Whenever you connect to a computer running the remote host software, you must authenticate yourself to the host, that is, the target computer. That means you need to prove that you have the right to use the remote (host) computer by entering a user name and password that the computer recognizes. Do not enter your LogMeIn ID (email address) and password (those are the ones you use to sign in to the Client app or at www.logmein.com). This will result in Error 1326 or Error 5 (incorrect user name and password).
- Having trouble resetting your account password? - Check out our Reset Password FAQs.
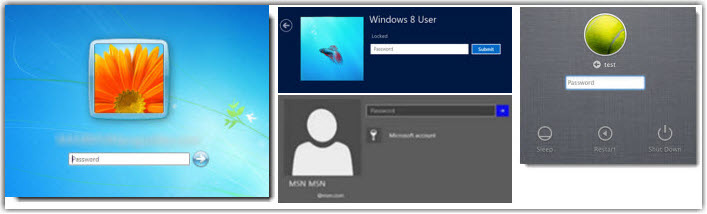
- Do you need to change your Windows password on the client computer? - On many Windows computers you can press Ctrl+Alt+Del, and then select Change a password or Reset Password. If your computer uses a Microsoft account for Windows login (Windows 8 and above), follow these instructions from Microsoft.
- Do you need to change your Windows password on the remote host computer? - If you forgot your Windows password that you use to log in to the remote host, you can still reset it while you are physically at the remote host computer.
-
Don't know your remote computer user name? - Learn how to find it here: Troubleshooting logging in to remote hosts (error 5 / 1326 / 1327 / Login failed)Note: Computer user names are often associated with a Microsoft email address and its respective password.
- You don't need a password to sign in to your remote computer? - Then you must set up a Computer Access Code, also known as "computer passcode". See What if I don't have a user on my remote host computer? (Computer Access Code)
- Forgot what your Access Code is? You can change it while physically at the remote host. See Change your Computer Access Code.
- Not sure what the difference is between a 'host' and a 'client' computer? See Understanding the difference between a host and a client
- You either have a user set up on your computer and you have to enter your login credentials to log in to your computer.
- When you switch on your computer, you can use it without first seeing a login screen.
I have a user on my computer. So which user name and password do I enter?
Most computers with multiple users or on a corporate network require you to authenticate in this way. For example, on a Windows PC you are typically forced to press Ctrl-Alt-Delete and enter your user name and password. When connecting via LogMeIn Pro to such a computer, you will be asked to enter the same user name and password you use when logging in locally.
What if I don't have a user on my remote host computer? (Computer Access Code)
On some computers you may be prompted to enter a Computer Access Code, also known as "computer passcode". Usually you are prompted to create a Computer Access Code when you install the host software to a remote computer that is not configured to require a Windows or Mac user name and password (when you start the computer, it is ready to go without entering a password). The Computer Access Code gives you assurance that only people who know the special code can access your remote computer.
Trying to remote control to a shared computer that multiple users connect to
Keep in mind that only one user can remote control a computer. While someone remote controls the host, another user can still use the file manager to transfer files, but can't control the remote computer.
Still can't connect?
Select Contact support on the right of this article to get help from our support agents.
