Troubleshooting signing in to LogMeIn
Here are a few tips on how to troubleshoot problems when you can't log in to your LogMeIn account.
Differences between a client and a remote host computer
The client is the local computer or mobile device that you're sitting in front of. That's the one that you use to sign in to your LogMeIn account in order to access your remote hosts. You can sign in to your account either in the Client app on Windows or Mac, or at LogMeIn.com.
The remote host computer is the one that you want to access in a distant place. On the host, you have to install (also known as "deploy") an app, called host software to set up a connection between your client and your remote Windows or Mac computer. This app makes sure that wherever you are in the world, whatever computer you use to access your host, only you can access it, over a secure connection.
To connect to your remote host computer, first you have to sign in to your client and then from your client to your remote host.
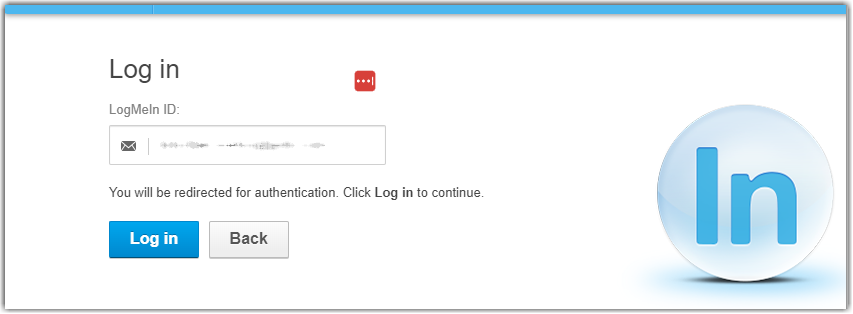
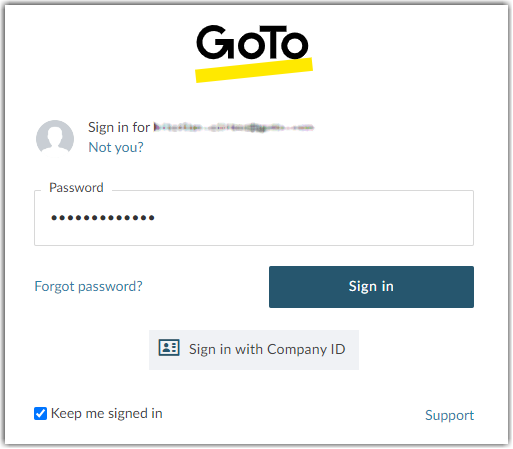
Sign in to the client
There are a few things that could go wrong when signing in to the client. The most common one is when users enter their Windows or Mac credentials instead of their LogMeIn account credentials. When you started using LogMeIn Pro, you created a LogMeIn account. This account lets you use the client where you can manage your remote host computers. If you have forgotten your LogMeIn account password, you can easily reset it from the sign-in page. If you can't find the "reset password" confirmation email in your mailbox, see Why didn't I get my "Reset Password" email for my GoTo account?
It is also possible that you enter an incorrect account password too many times and your account gets blocked. In this case, all you can do is wait for 30 minutes and then, just to make sure, reset and memorize your new password. You can also use password management tools, such as LastPass to securely store your account credentials.


This lets you in to the Computers page where you can see your remote hosts.
For troubleshooting tips on resetting your password, read this article.
For information on multifactor authentication (MFA) or two-step authentication, see Two-step verification in LogMeIn Pro.
For more troubleshooting tips
If you can sign in to your client (in other words, to your LogMeIn account where you see your host computers listed) but you can't connect to your host, see the following articles:
Troubleshooting offline computers in LogMeIn Pro
Troubleshooting a LogMeIn host not found error
Troubleshooting logging in to remote hosts (error 5 / 1326 / 1327 / Login failed)
Still can't connect?
Select Contact support on the right of this article to get help from our support agents.
Connect to a remote LogMeIn host
A checklist of the most common communication issues when connecting to remote Host computers.
Restart the host application on the remote computer
As a first attempt to fix a connection issue, you can restart the LogMeIn host service on the remote computer.
- Open the Run dialog by holding down the Windows logo key and pressing the letter 'R' on your keyboard.
- Type services.msc and select OK.
- On the list of services, right-click LogMeIn and select Restart.

Restart your host
In some cases, you may be unable to connect to an online from either the Dashboard or Remote Control. In this case, you can restart your host as described in Restart a host in LogMeIn Pro
Make sure your account is not locked
Simply sign out of LogMeIn and sign back in. If you are a Master Account Holder, you can also check whether your subscription has not expired. See View or change contact/billing information in LogMeIn Pro.
Make sure the remote host does not block your attempts to connect
You must go to the remote computer that you want to access and do the following:
- Open LogMeIn Control Panel either from the system tray or from the Windows menu.
- Go to .
- At the bottom of the page, check if any IP addresses are blocked and unblock those.
- Select OK.
Update the host to the latest version
To update the software:
- From the host computer, open the LogMeIn Control Panel
- Select About.
- Select Check for Updates.
The host will update to the most recent available version of the host software.
Check date and time settings
If the date and time settings of your computer are incorrect, the host may show as Enabled and Online in your system tray, but as Offline in your account. In this case, you receive an Error 13 while trying to connect to a remote computer.
To change the date and time of your system, select the clock on your Windows system tray or on your Mac menu bar. On Windows, do the following:
- Select the System Clock in the taskbar (usually in the bottom right corner of the screen).
- Select the Change Date and Time settings link.
- Select the Change Date and Time button.
- Ensure the date and year are set correctly.
Check your firewall configuration
Make sure the host software is not being blocked by a firewall on the host computer. You will need to allow the host software to make connections in the firewall rules. For details, see LogMeIn Pro and Firewalls.
Check your proxy settings
You may encounter connection issues if your proxy is not configured to work with the host software. For details, see How to Configure Proxy Settings.
Check the DNS status
Follow the steps to fix problems with your DNS resolving our IP Address.
On Windows 7 and newer:
- Open the Run dialog. (Press the Windows key and the R key at the same time.)
- Type cmd and select OK.
- In the command prompt, type ipconfig /flushdns and press the Enter key.
On Mac OS X:
- Open .
- Type dscacheutil -flushcache and press the Enter key.
OpenDNS service issues
You may encounter connectivity issues when using GoTo products with OpenDNS. This is due to OpenDNS categorizing GoTo domains as a proxy/anonymizer. GoTo support is unable to provide further assistance with this issue. Please visit http://www.opendns.com/ for more information configuring OpenDNS.
Internet load balancers and reverse proxies (satellite connections)
To resolve IP mismatch issues behind an internet load balancer or a reverse proxy, follow these steps.
- Copy this text:
Windows Registry Editor Version 5.00 [HKEY_LOCAL_MACHINE\SOFTWARE\LogMeIn\V5\Net] "BrokenProxy"=dword:00000000 - Save it in Notepad or a similar editor on the host computer as IP Mismatch.txt.
- Rename the file IPMismatch.reg. You may be asked to confirm that you want change the file extension from .txt to .reg. Confirm the change.
- Double-click the file and confirm that you want to import the file into the registry.
Still can't connect?
Select Contact support on the right of this article to get help from our support agents.

