What are some best practices for printing remotely?
Review a list of troubleshooting and best practice tips that you can use when manually enabling a printer.
Task 1: Ensure that you can print locally from your client computer
Try to print a job on your client computer before attempting to print remotely through GoToMyPC. If printing is not working locally, printing a remote file with GoToMyPC will not work. Please refer to your printer's support site for troubleshooting steps.
Turn off bidirectional support - Bidirectional printing is a feature that allows communication between a computer and a local printer. It is used to communicate printer status, ink levels and job information. Your local printer is not physically connected to your host computer when remotely printing; therefore, bidirectional communication isn't necessary, and we recommend that you disable this function.
- Try printing the job again.

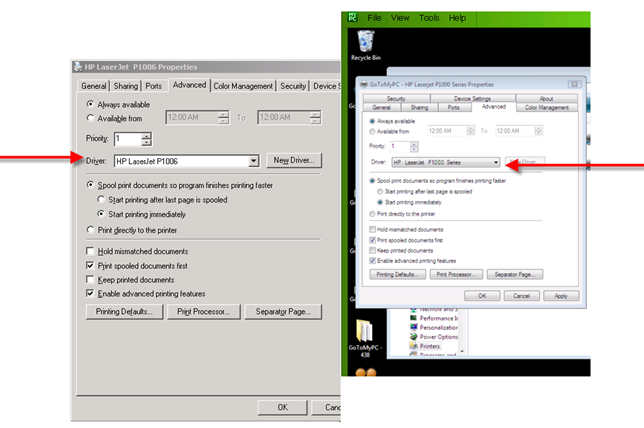
Task 2: Change the print processor of your manually enabled printer
While the print driver default settings are usually recommended, modifying your manually enabled printer can help resolve issues.
- Change the print processor to WinPrint and the default data type to RAW.

Results: If a print job gets stuck, it must be canceled before a printer can accept additional jobs.
Task 3: Clear out stuck print jobs from your printer queue
- Right-click the manually enabled printer and select See what's printing.

Task 4: If you are still having issues with stuck print jobs, you can restart the Print Spooler
To restart the print spooler:
- Click the Windows Start icon
 and type services.msc in the search field. Press Enter.
 - Scroll through the list of Windows services and select Print Spooler.Click Restart at the top left.
- Reopen the Devices and Printers control panel.
- Right-click the problematic printer and select Cancel All Documents. This should now clear out any stuck print jobs.
Results:
Ensure that the downloaded print driver on the host matches the existing print driver on the client computer.